
How to Install and Use AutoGPT – Step-by-Step Auto-GPT Setup Tutorial

AutoGPT is an experimental open-source application that uses GPT-4 and GPT-3.5 autonomously to understand the given objective, come up with a plan, and try to execute it autonomously without human input.
One of the particular features of AutoGPT is its ability to chain together multiple instances of GPT-4 or GPT-3.5, allowing it to “outsource” tasks whenever it feels like its context window is overwhelmed.
In this article, I’ll show you step-by-step how you can set up and run your own version of AutoGPT.
Let’s get started!
How to Set Up AutoGPT
Requirements
The requirements to run AutoGPT are the following:
- A device to run the AI agent. Since it utilizes OpenAI API, any device will do. Even an old/lowcost PC.
- Python 3.8 or later and Git installed.
- An OpenAI account with a valid payment method or active trial credits. If you signed up within the last three months, you probably still have them.
- You should know how run terminal commands.
- Optional: ElevenLabs account and API key, if you want your AI agent to be able to speak.
- Optional: Pinecone API key.
1. Set a Limit on OpenAI API Usage
Autonomous AI agents like AutoGPT are powered by the GPT-4 model that is served through OpenAI API. It is charging on a usage basis.
Given that AutoGPT tends to get stuck in the tasks loops and go down the rabbit holes, I recommend setting a limit on API usage not to find yourself in a weird situation where a bot will cost you $50 per day to run.
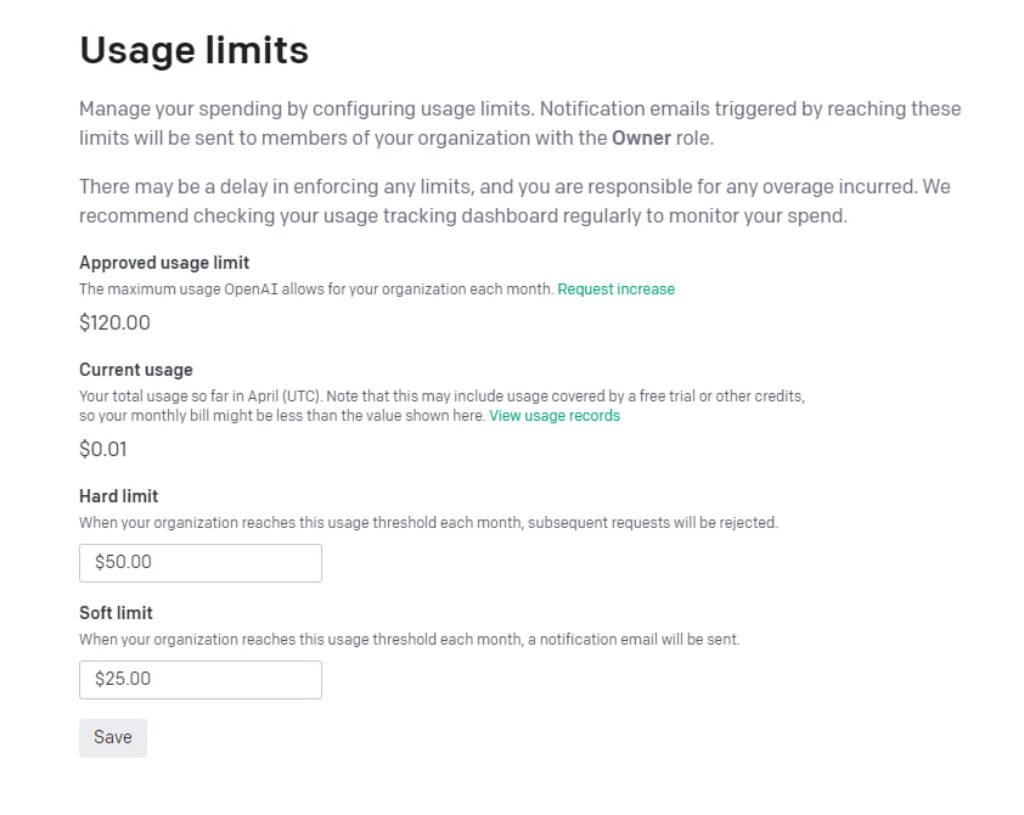
You can change your limits in the OpenAI account settings.
2. Install Python 3.8 or later
Python is widely used in various AI projects, and AutoGPT is no exception. You’re going to need to install it on your computer.
Don’t worry if it’s something you’ve never done. Here’s a detailed tutorial for you: https://python.land/installing-python.
3. Install Git
The Git installation process is different for every operating system, so we won’t cover this in detail. You can follow the official guide and install Git on your computer.
We will need Git to download or “pull” AutoGPT from Github. For now, just install it, and we’ll show you how to use it later.
4. Install virtualenvwrapper
Virtualenv and virtualenvwrapper are Python tools that help you keep each project separate. Some projects may have packages that conflict with other packages in other projects. To avoid conflicts, virtualenv is used. It’s like a sandbox for Python.
It’s also more convenient to keep each project in a separate environment.
It is recommended you use it for AutoGPT, but it’s not necessary.
If you work on Linux/OS X, open a terminal and run the following command:
pip install virtualenvwrapper
If you’re a Windows guy, open cmd or PowerShell and run this command:
pip install virtualenvwrapper-win
Create and Activate a Virtual Environment
Great! Now that you installed virtualenvwrapper, it’ll be super easy to create and maintain virtual environments. Let’s create the actual virtual environment for our AutoGPT app. To do this, simply run the following command:
mkvirtualenv autogpt
Where “autogpt” is the name of the virtual environment.
5. Clone AutoGPT Github Repo
At this point, you should have met the requirements:
- Python installed
- Git installed
- Virtual environment set up
Now we’re finally going to install AutoGPT. To do this, navigate to the desired directory where you want it installed and run the following command:
git clone https://github.com/Torantulino/Auto-GPT.git
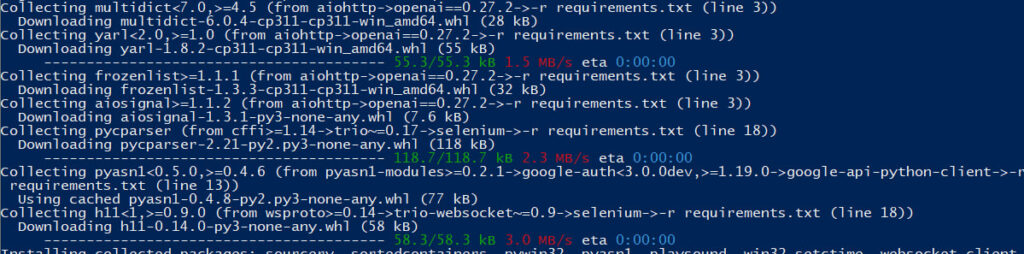
This will download the Auto-GPT repo from Github. After it’s downloaded, go to the Auto-GPT directory. Use the cd Auto-GPT command for this. Once you’re in, you need to install some of the Auto-GPT’s dependencies. Run this command:
pip install -r requirements.txt
Next thing, we need to get our OpenAI API Key.
How to get OpenAI API Key
You can create and delete your OpenAI API keys in your OpenAI account settings. Visit the API keys page at https://platform.openai.com/account/api-keys and click Create new secret key. Give it a name you would remember and write it down somewhere because you’ll never be able to see it in full again.
Here’s a very quick walkthrough:
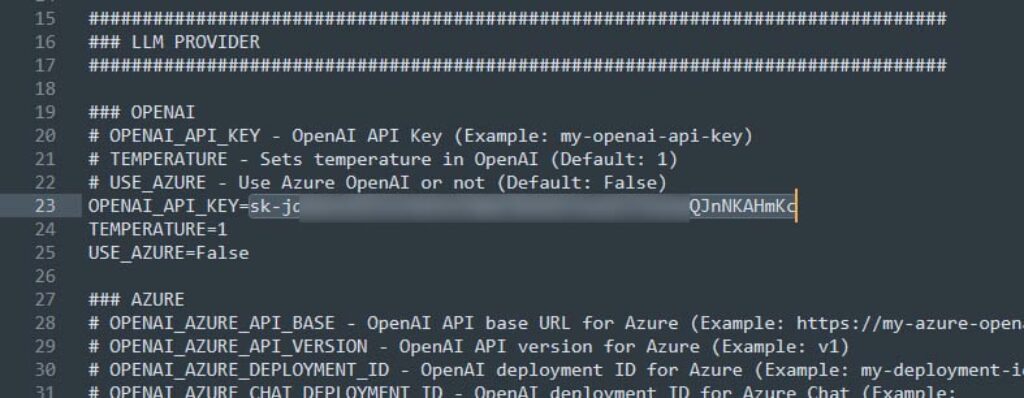
Edit The .env.template File
Before running the AutoGPT, you should edit the .env.template file in the repository folder:

First of all, change its name to .env (including the dot).
Next, open it with the preferred text editor and paste your OpenAI API key. Save the file when you’re done.
6. Run AutoGPT
After all the preparations, we can finally run the Auto-GPT.
To do this, simply navigate to the Auto-GPT directory in your terminal or PowerShell, and run this command:
python -m autogpt
If nothing happens, make sure your environment is active by running this command:
workon autogpt
If the python command doesn’t work for you, try this:
py -m autogpt
If everything is set up right, you will be welcomed by the app and prompted to give your AI agent the name and the goals:
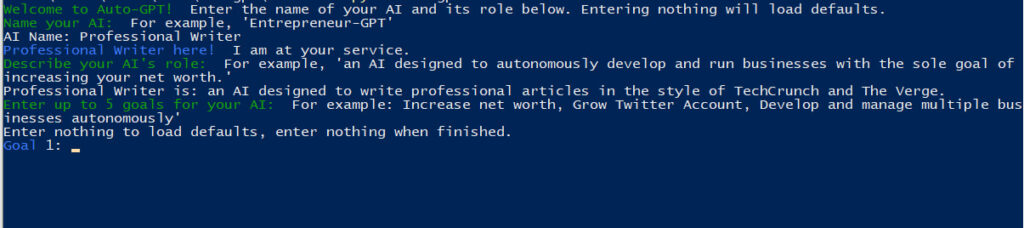
Congratulations! You’ve just installed and ran your own instance of AutoGPT!
Let me know in the comments if you have any troubles. We’ll try to figure out something together.